UV-Printed Acrylic Sign Panels with Laser-Cut Openings
Acrylic sign faces combine printed wood and stone patterns with laser-cut shapes. Light-diffusing polycarbonate and LEDs behind the panels form the lighting structure.
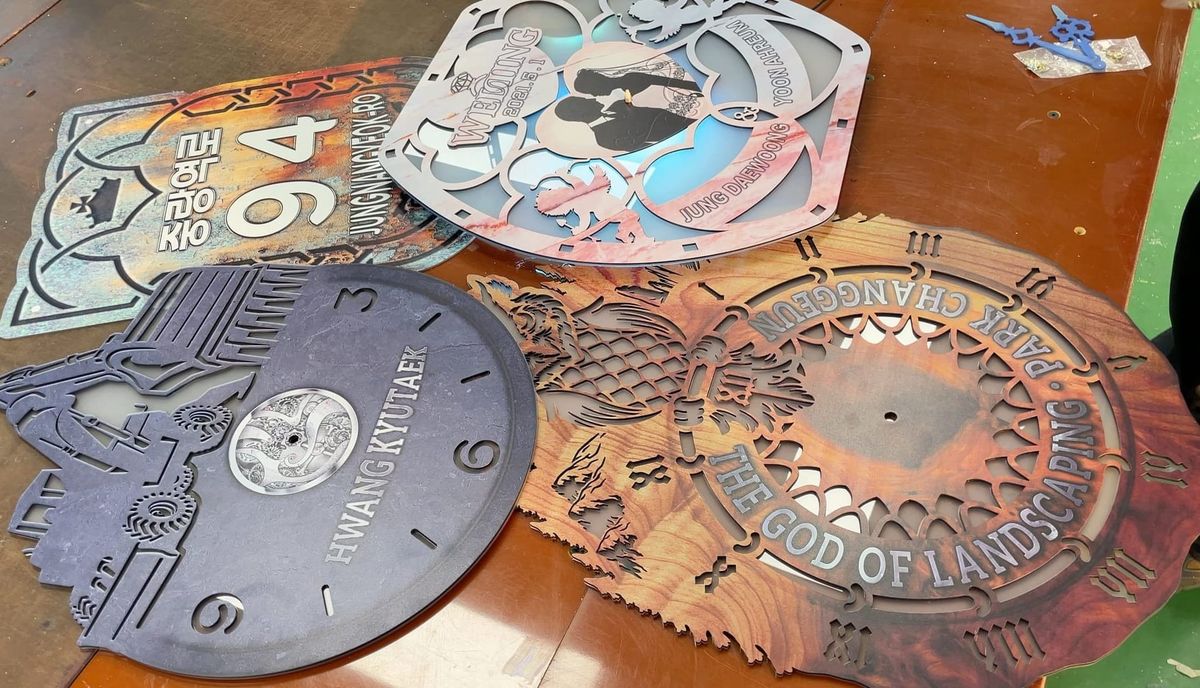
These sign faces use acrylic for illuminated signs, combining UV-printed wood and stone patterns with laser-cut outlines and openings. Light-diffusing polycarbonate and LEDs are placed behind the face so that light can pass through the openings.
Printed patterns and cut-out shapes
The main photograph shows acrylic panels with circular and rectangular outlines, lettering, numerals and decorative openings. The wood and stone effects are printed onto the acrylic surface. Laser cutting defines the outer shapes and the openings within the design. Behind the cut face, light-diffusing polycarbonate and LEDs provide the lighting structure.
The outline, printed image and areas intended to light up can be planned together for store walls or indoor signage. Related examples include a UV-printed acrylic stand and a polycarbonate LED lightbox.
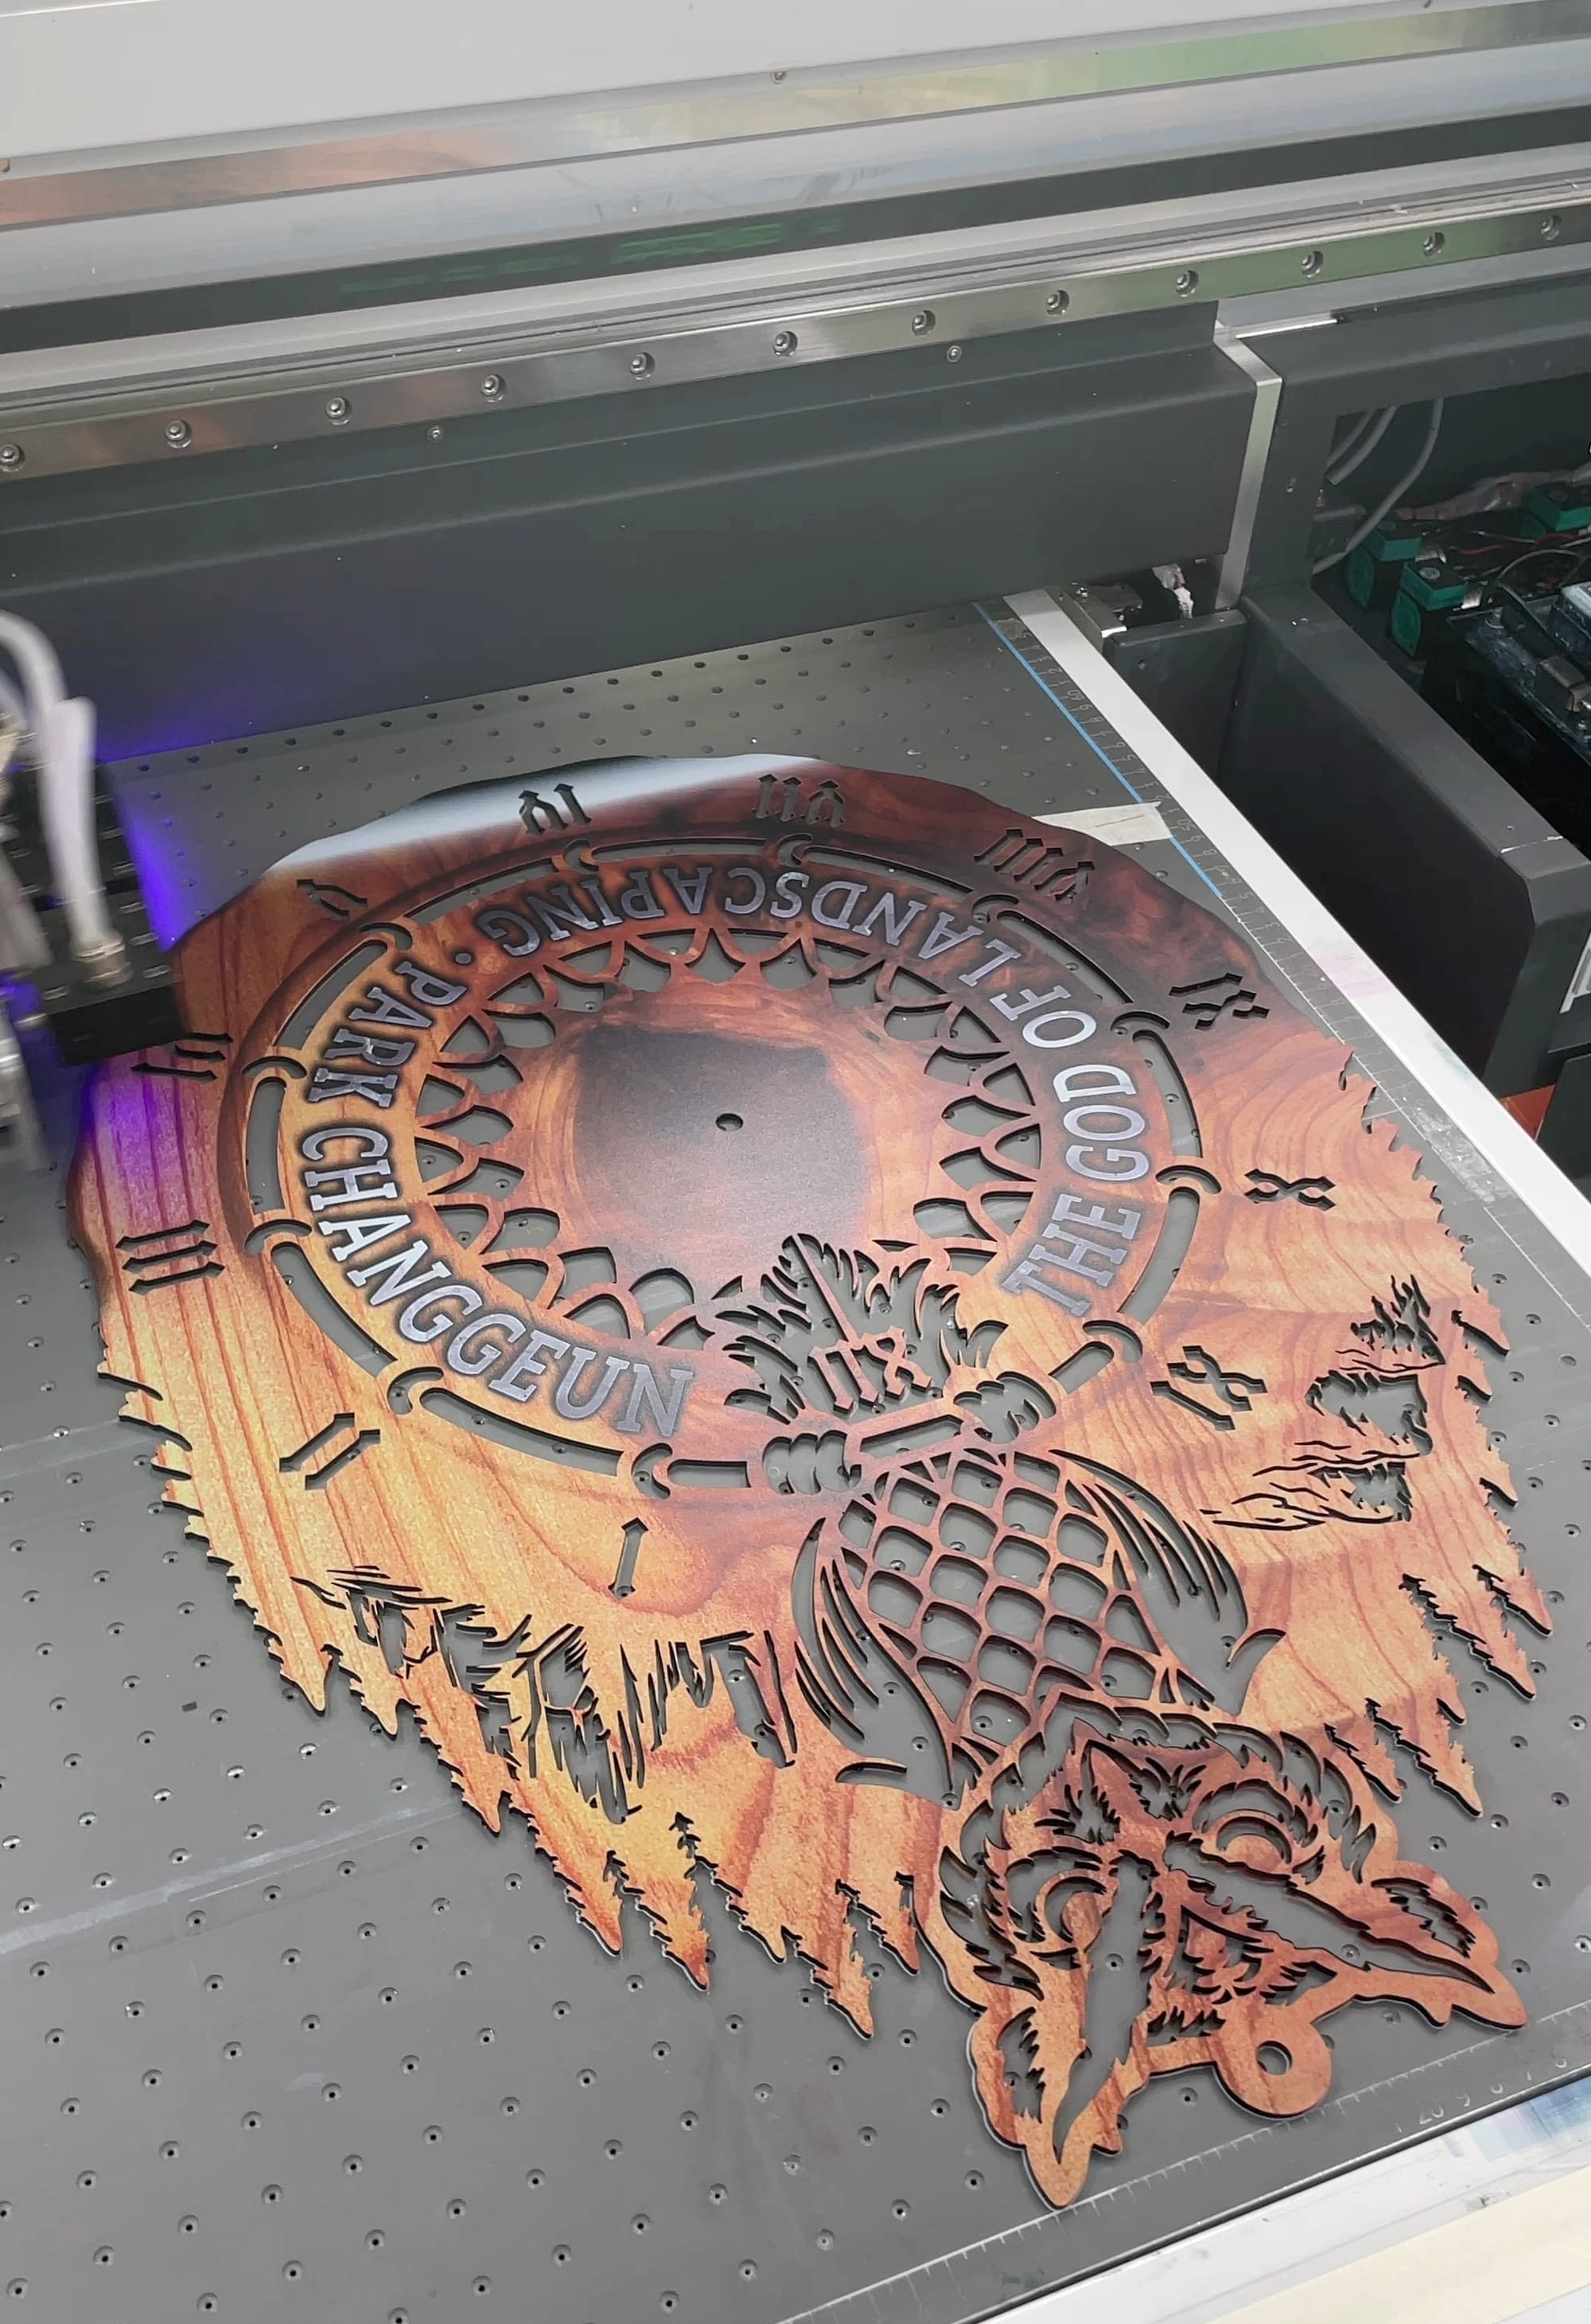
A circular face on the UV printer bed
This photograph shows the wood-pattern circular face from the main group on the UV printer bed. The printed colours and texture sit alongside the intricate lettering, numeral and decorative areas of the design. UV printing and laser cutting combine the surface graphic and openings in one acrylic face. The rear light-diffusing polycarbonate and LEDs complete the specified lighting structure.
Discuss an illuminated acrylic sign
Share the finished size, quantity, outline artwork, print image and intended location. Mark the lettering or decorative openings and the areas you want to illuminate so that the cut face and rear lighting can be considered together. Discuss your project.


